How to Plan a Safer, More Comfortable Tub-to-Shower Bathroom
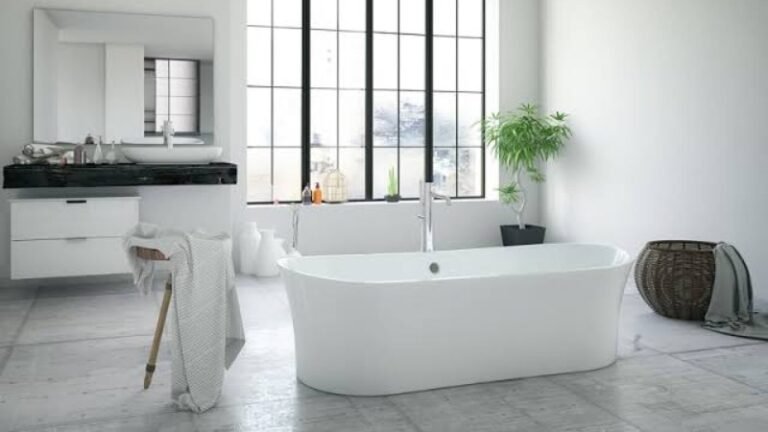
Planning a safer, more comfortable tub-to-shower bathroom starts with looking at how the space is used every day. A shower should provide convenient access, enough room to move, and features that support comfort and stability. Homeowners should consider the shower entrance, flooring, seating, grab bars, fixtures, storage, and lighting when developing a plan. It is also important to evaluate the existing bathroom layout and plumbing before selecting new features. Thoughtful planning can help create a space that feels practical without sacrificing its overall appearance.
A bathroom tub to shower conversion can be a practical way to improve accessibility while making better use of available space. Before beginning, homeowners can compare shower sizes, materials, fixture options, and safety features to determine which options fit their needs and budget. Considering maintenance and long-term use can also help guide decisions. With careful preparation, a tub-to-shower upgrade can create a bathroom that feels easier to use, comfortable, and welcoming.
Why Make the Change?
Many households prefer showers because they are faster to use, easier to step into, and often make a bathroom feel less crowded. For example, a homeowner who rarely takes baths but has started feeling unsteady when stepping over a tub wall may gain much more from a low-entry shower than from keeping the existing fixture.
Still, the decision is personal. Consider the needs of children and guests, future resale plans, and whether another bathtub is available elsewhere in the home. Removing the only tub is not automatically a mistake, but it is worth weighing against how the home will be used over the next several years.
Check the Space Before Choosing a Design
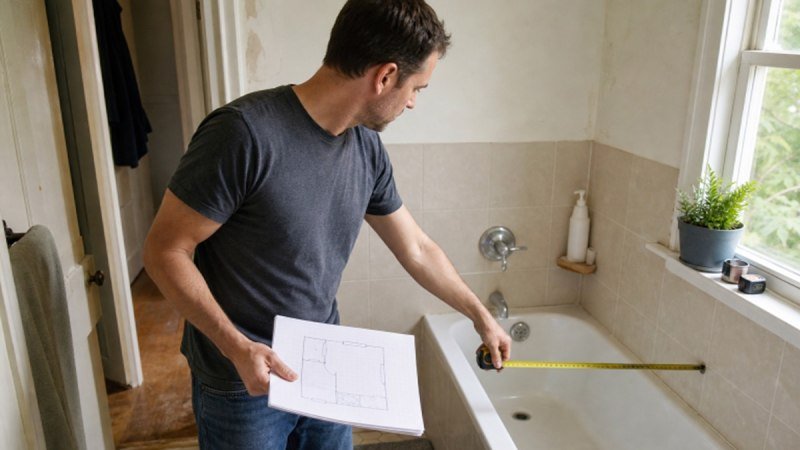
Start with measurements, not product photos. Measure the existing tub opening, bathroom doorway, nearby vanity and toilet, ceiling height, and the clear floor area in front of the shower. Note where the drain, water lines, outlets, light switches, and exhaust fan are located.
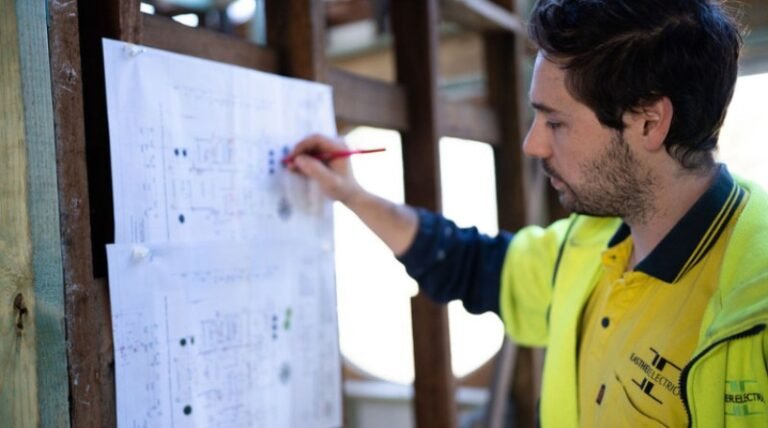
A simple floor sketch and several photos can help contractors identify likely challenges before the project begins. Also consider door swing, towel storage, and whether a family member or caregiver may need room to assist someone safely.
Focus on Safety First
Safety works best when it is built into the plan rather than added as an afterthought. The CDC advises homeowners to install grab bars inside and outside the tub or shower to create a safer home environment, especially for people with balance or mobility concerns.
Features that can reduce everyday risk
- Choose a low threshold or a curbless entry when practical, given the floor structure and drainage plan.
- Select slip-resistant flooring that feels secure under bare feet yet is easy to clean.
- Install professionally anchored grab bars, not temporary suction-cup handles.
- Add a shower seat or fold-down bench for users who tire easily.
- Use bright, even lighting and controls that are easy to reach and operate.
Choose the Right Shower Layout
A standard curbed shower usually offers straightforward water control. A low-threshold shower reduces the step into the bathing area, while a curbless shower can provide the smoothest entry. Curbless designs may require more extensive floor and drain work, so they should be evaluated early.
Framed enclosures can be budget-friendly, while semi-frameless and frameless glass can create a more open look. Curtains are often useful in smaller bathrooms because they allow a wider opening and are easy to replace.
Select Features That Make Daily Use Easier
Choose upgrades that solve everyday problems. A handheld showerhead helps with seated bathing, rinsing walls, and cleaning the shower. A recessed niche keeps bottles off the floor, while lever-style handles can be easier to grip than small knobs.
Other practical choices include a built-in or fold-down seat, a shelf near the entry for towels, a fog-resistant mirror, and a thermostatic or pressure-balancing valve to help maintain a more comfortable water temperature. Place controls where they can be reached without standing directly under the spray.
Compare Wall and Floor Materials
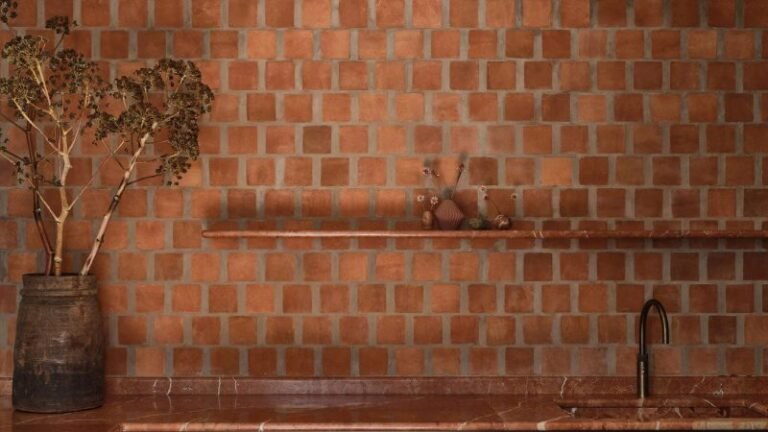
Tile provides many colors and layout options, but grout requires regular attention. Acrylic and fiberglass systems are often quicker to install and have fewer seams. Solid-surface panels can create a sleek appearance with low-maintenance wall coverage, though precise measuring is important.
For the floor, prioritize texture, drainage, and comfort over appearance alone. Request samples whenever possible, then view them in the bathroom’s actual lighting. A finish that looks attractive in a showroom may appear very different beside existing cabinetry or flooring.
Plan Plumbing and Drainage
Some conversions can use the existing plumbing footprint, but hidden conditions can change the scope. Drain placement, aging pipes, low water pressure, damaged subflooring, and inadequate ventilation may require attention once demolition begins.
Ask how the shower will be waterproofed, how the floor will slope toward the drain, and how water will be contained at the entry. Confirm who is responsible for permits, inspections, plumbing changes, debris removal, and final cleanup before signing an agreement.
Build a Practical Project Budget
A reliable budget separates the major costs: demolition, labor, plumbing, waterproofing, wall and floor materials, fixtures, glass or curtain hardware, disposal, and finishing work. Include optional features such as grab bars, seating, lighting, niches, and upgraded controls.
Set aside a contingency amount for hidden water damage or outdated plumbing. When comparing estimates, look at the written scope, material quality, warranty terms, project schedule, and exclusions. The lowest quote may leave out important preparation or waterproofing steps.
Decide Between DIY and Professional Help
Experienced homeowners may be able to remove accessories, paint walls, or handle simple finishing tasks. However, plumbing, electrical changes, waterproofing, structural adjustments, tile installation, and heavy glass enclosures often require specialized skill.
Before hiring, ask about licensing, insurance, references, permits, workmanship warranties, and experience with low-threshold or accessible showers. A contractor should be willing to explain the schedule, materials, and process clearly rather than relying on vague promises or a rushed timeline.
Use a Final Planning Checklist
- Measure the room and photograph the existing layout.
- Identify everyone who will use the shower now and in the future.
- Choose a curb, low-threshold, or curbless entry style.
- Select safety features, storage, lighting, and controls.
- Confirm wall, floor, drainage, and waterproofing details.
- Build a budget with room for unexpected repairs.
- Get detailed written estimates and verify permits and warranties.
Conclusion
A successful tub-to-shower project should be comfortable, safe, easy to maintain, and appropriate for the people who use it every day. By planning the layout, materials, drainage, and accessibility features before work begins, homeowners can create a bathroom that works well today and remains useful for years to come.